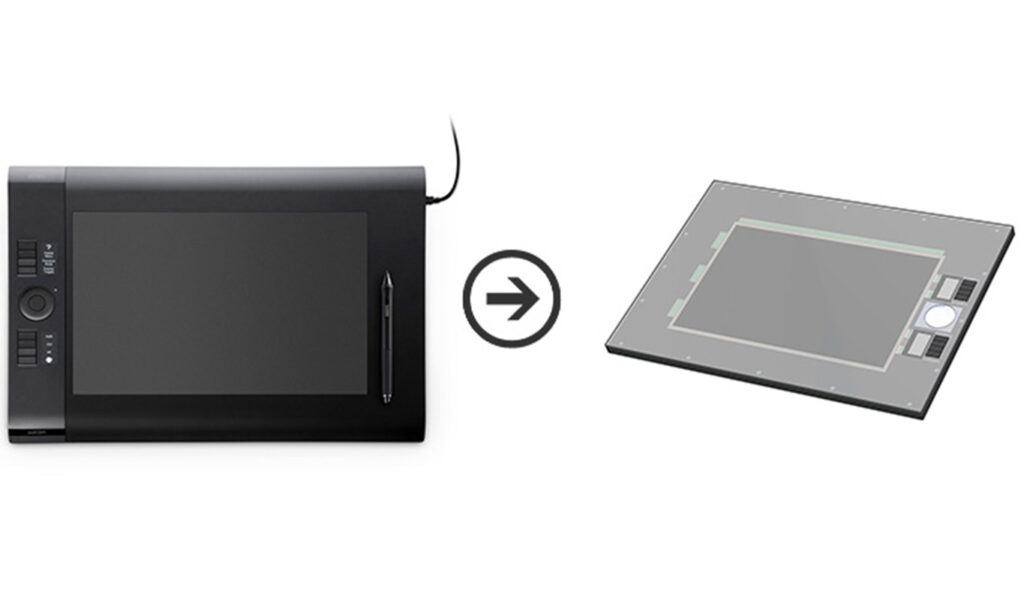
A few years ago, when the Wacom Intuos 4 first came to the market I bought one, so I could do 2D industrial design concepts. Up until that day I was always making hands sketches, scanning them and then retouch and finish off in Photoshop or Illustrator. So i though the Intuos would help me to go straight into digital painting and save time. Though it did save me some time, I never got completely accustomed to the idea of right clicking with the pen and more importantly having to look at the screen for a feedback. So because the Cintiqs where above my budged the tablet remained unused until I decided to make a DIY Cintiq. Quite a few people have done something similar with success, but there are also a few images online of DIY Cintiqs that in my opinion went wrong, something which I wanted to avoid, as after all I design electronic enclosures for a living. The options where:
- Put a screen over my tablet without modifying the Intuos plastic enclosure
- Hack the plastic enclosure but risking to permanently destroy a product that cost me £500
- Design a new enclosure for my screen and Intuos PCB. So if my project were to fail at least I could at least put the PCB in its original plastic enclosure and keep using the Intuos 4.
I designed 2 new enclosures for my parts, one out of a machined HDPE block and an alternative design from laminated laser cut acrylic sheets. As I have access to a CNC milling machine I attempted to go for the HDPE block option but it was proven that my setup was not good enough to mill plastics (no cooling and improper clamps), so my test piece was distorted from the heat generated during the milling.

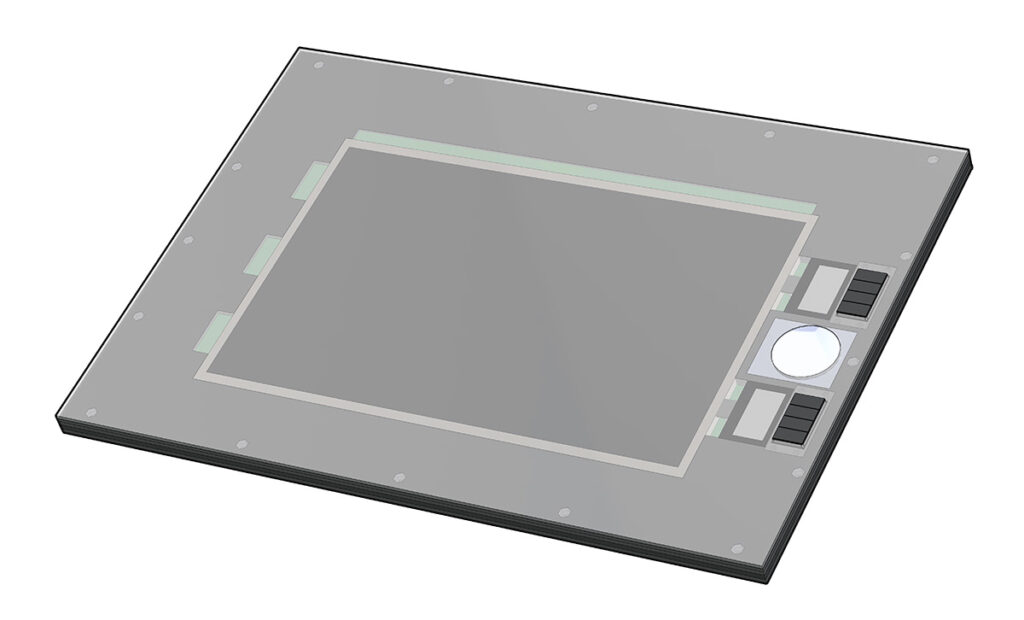
For the second option I had a company laser cut 5 sheets of acrylic, that I could laminate to form the housing for the Intuos PCBs and my screen, and 5 pieces to make the enclosure for the LVDS controller and inverter. Links to laser cutting paths and drawings:
Note that the above design would only work with my hardware configuration and even so required some modifications. If you are making a DIY Cintiq, use the above as reference only. Once I got the pieces, I bonded them using pure acetone, same grade as the one used to remove nail colour. To do that you overlay the acrylic sheets and using a dropper you apply the acetone at the edges of your stack of sheets. Because of capillary force acetone spreads between the sheets and dissolves a layer of acrylic. Once it evaporates the next day, the sheets are bonded in a molecular level and it is impossible to separate them. I found this method online and originally I had some doubts as it seemed too easy and cheap to be true, but actually worked amazingly.

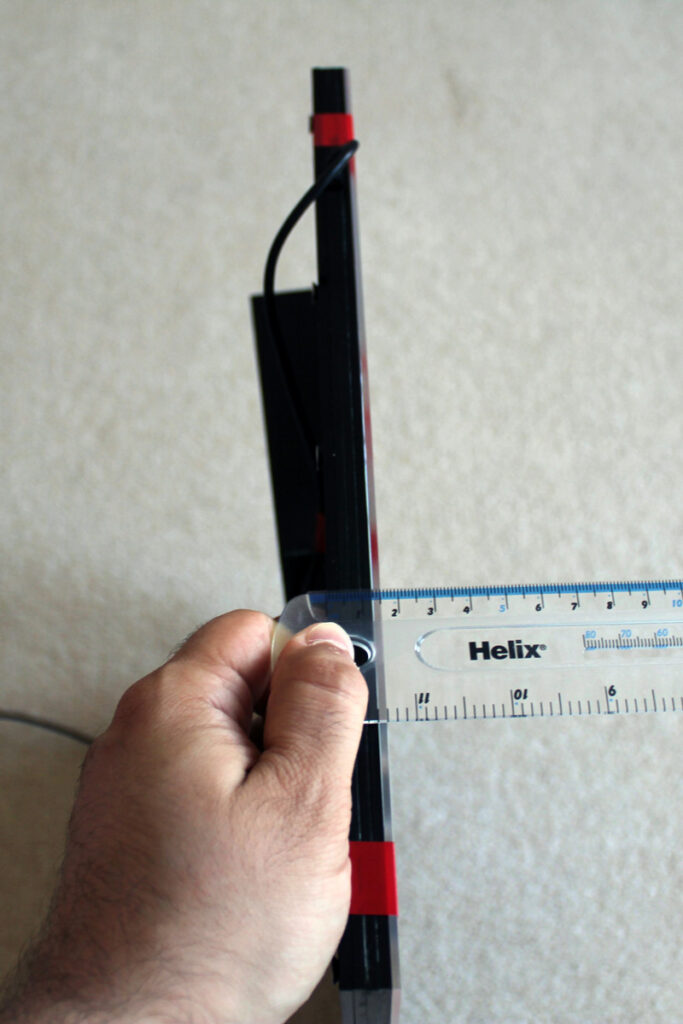
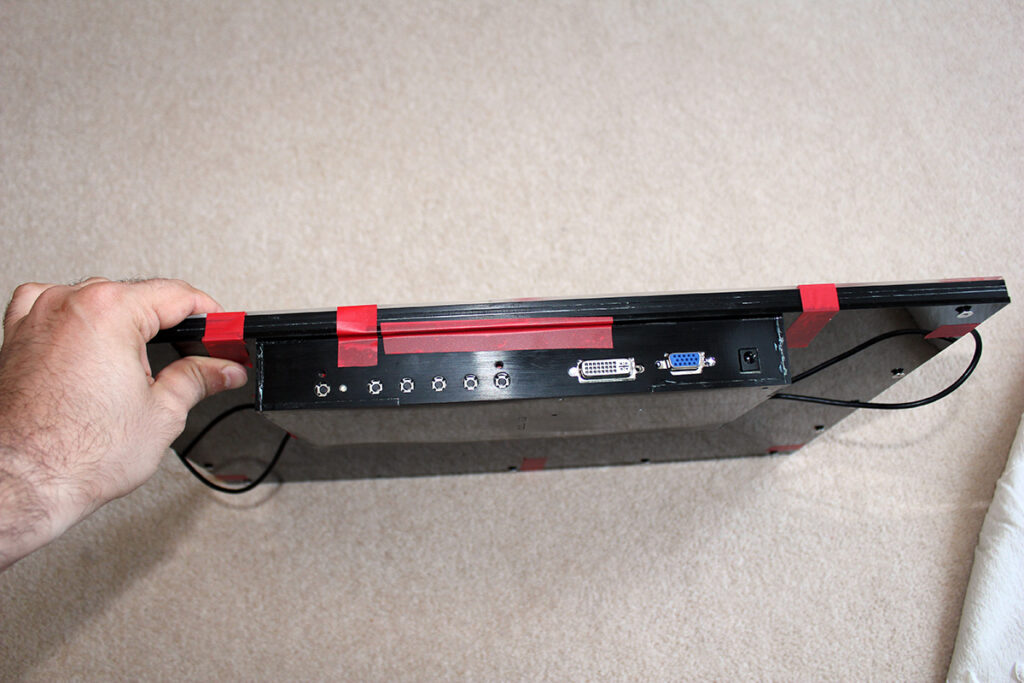
I used aluminium tape to shield the separate box housing the LVDS controller and inverter. In a nut shell Wacom tablets work by creating electromagnetic force above their surface. The pen has a coil inside which effects this field in a way that the tablet can detect its coordinates and pressure level. So it is vital to shield any electronics other than the Wacom PCB as they will definitely create interference. Most DIY Cintiqs and even Wacom Cintiqs suffer from jitter and random clicks which are really just poor shielding.
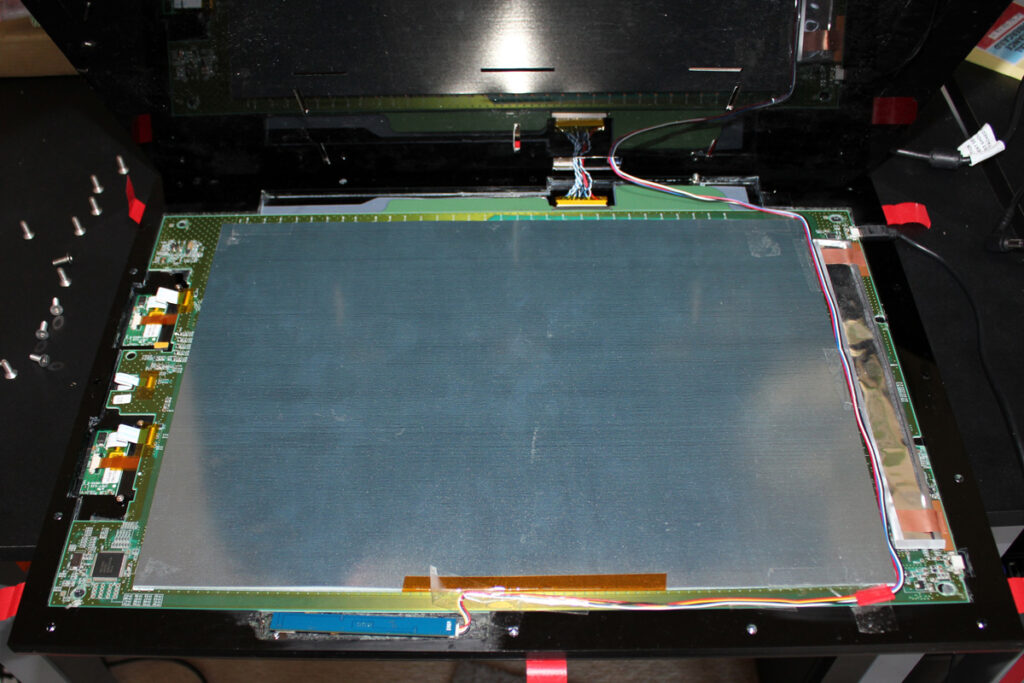
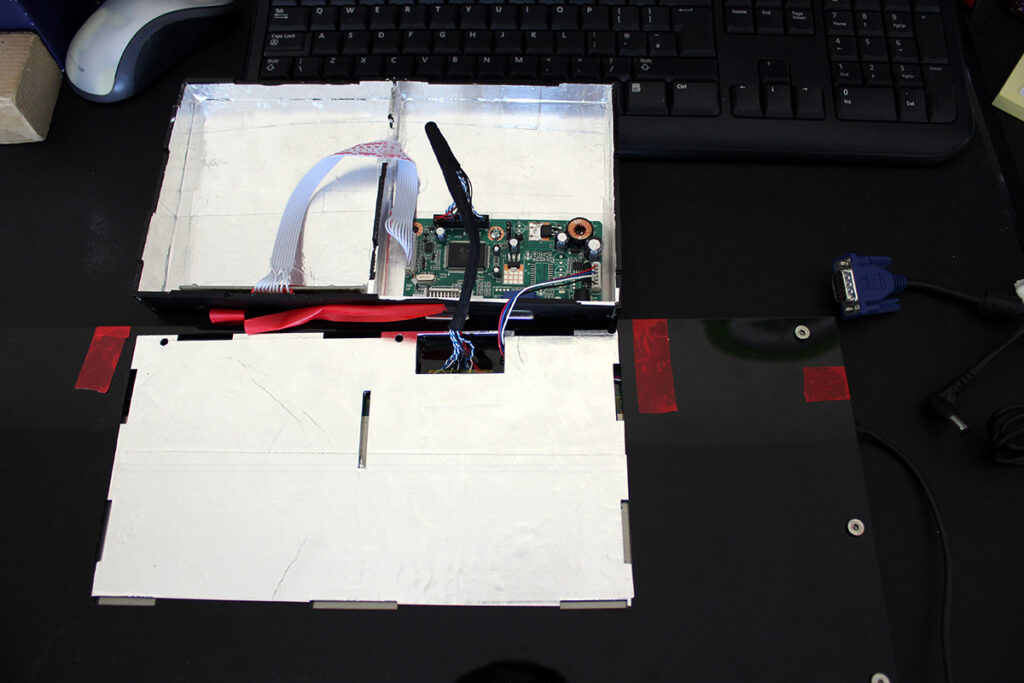
Despite my efforts only the top half of the tablet worked and the jittering was horrible. I concluded that this was down to the force created by the CCFL light tube of the screen, which unfortunately you cannot shield efficiently without completely covering it and preventing light out. But fortunately I accidentally broke the CCFL while trying the setup! So I ordered and LED strip and its driver. The driver is basically just a low current circuit that gets 5V dc and outputs 12V dc. So neither this nor the LED strip can create a magnetic field strong enough to introduce jitter. I did have though random clicks which I eliminated connecting the screen through the VGA cable instead of the DVI. It seems other people are dealing with the same issue. It is not clear to me why this is happening but I didn’t want to spend more time investigating since the problem gone away.
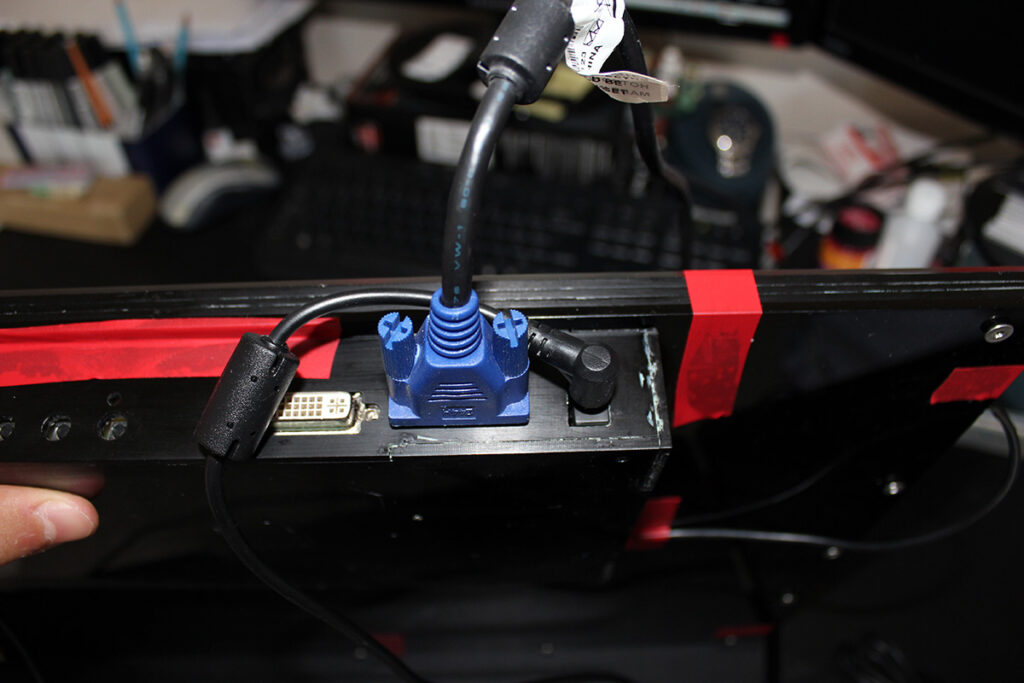
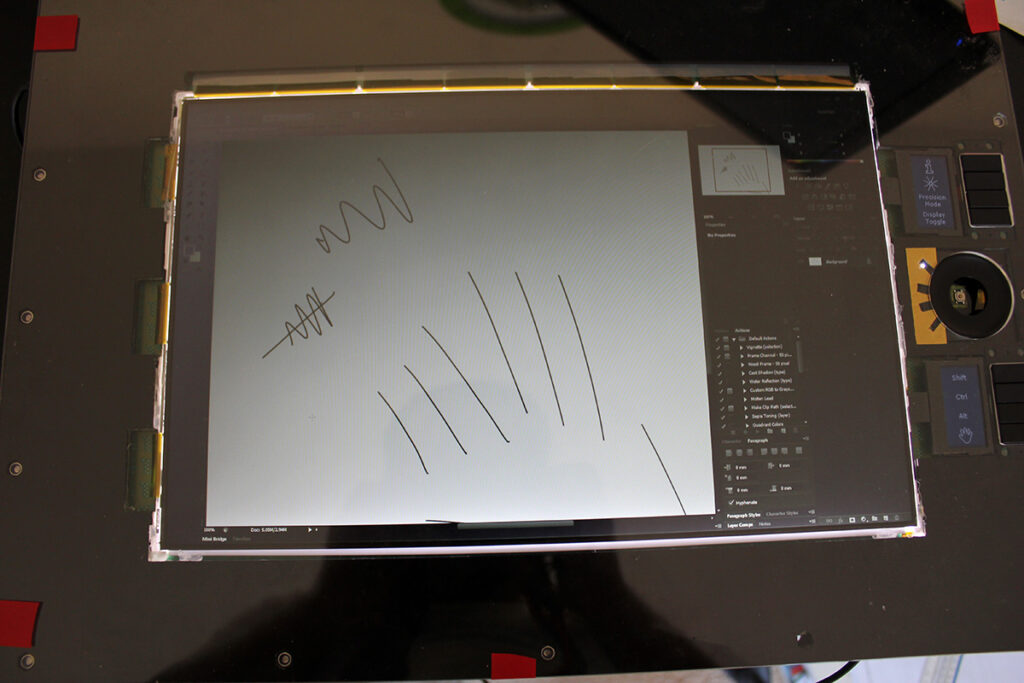
At the moment there is a bit of jitter 1pixel wide at the bottom 10mm of the screen and while working for 1 hour I might get 5-10 random right clicks, but this is at an acceptable level. The assembly is held together with tape because I heavily scratched the front panel and I want to replace it as soon as I find time but otherwise the mod is working fine.
